You can pay with a paper check by taking a photo of the front and back.
| Important: We recommend using the Prisma Resident Portal app for check deposits, on a desktop you must take the photos separately and transfer them to your computer first. |
| Note: Before you begin: have your filled-out check signed and a phone to capture a picture. |
Step 1: Open Make Payment #
On the Dashboard (the first page you see after you log in), select Make a Payment. You can also select Make Payment in the menu on the left.
Step 2: Choose Check Deposit #
Under Payment Type, select Check Deposit.
Step 3: Read the photo tips #
A Check Deposit Guidelines window opens. For a good photo:
- Lay the check on a dark, solid surface (not white).
- Use good light with no glare.
- Make sure all four corners of the check are in the photo.
- Make sure all writing is clear and easy to read.
Select Got It.
Step 4: Add a photo of the front of the check #
Under Front of Check, select Upload Image. Take or choose a clear photo of the front of your check.
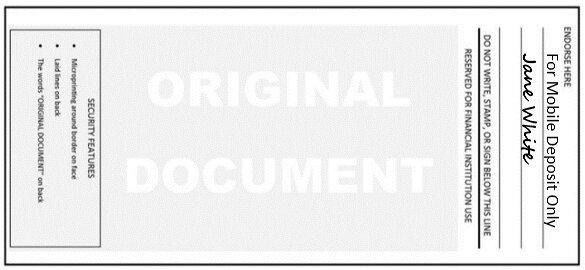
Step 5: Sign the back and add a photo of it #
Sign (endorse) the back of the check.
Under Back of Check, select Upload Image. Take or choose a clear photo of the back.
Step 6: Choose the check type #
Under Check Type, choose Personal check (from your own account) or Business check (from a business account).
Step 7: Validate the information is correct #
Under Check Amount, type the exact amount written on the check.
Step 8: Review and finish #
Select Next. Check everything on the next screen, then follow the prompts to finish your payment.
| Important: Blurry, cut-off, or hard-to-read photos can cause your payment to fail. Keep your paper check in a safe place until the payment shows Completed in Payment History. |


